Do you use the Do Not Email field?
Most marketers overlook it or misuse it.
Account Engagement (Account Engagement) mailability features updated in the summer of 2021. With it, Salesforce proposed a new way to manage prospects.
Understand the difference
Account Engagement offers two fields to prevent prospects from getting emails.
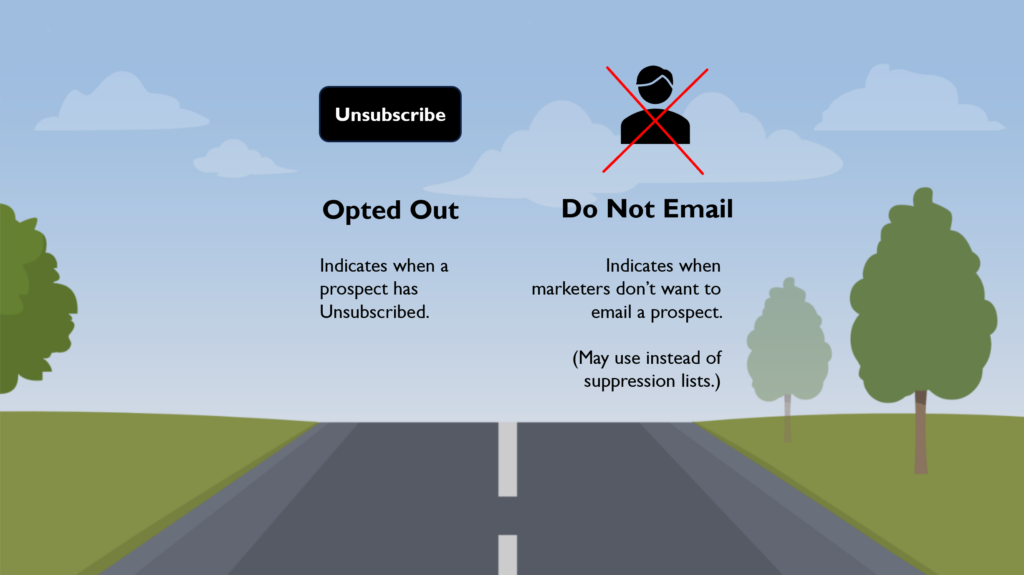
Do Not Email – Marketers can mark prospects as Do Not Email to suppress them from getting emails.
For instance, a marketer may mark an intern as Do Not Email because they are NOT a viable prospect (unqualified).
Opted Out – Email recipients who choose “Unsubscribe” at the bottom of their emails will be opted out in Account Engagement.
It’s all about who initiates
Watch who initiates the action.
If marketers want to exclude prospects from emails without deleting them in the database, they should mark them as Do Not Email.
If prospects don’t want your emails, they will unsubscribe, and Account Engagement will mark them as Opted Out.

Think of these fields like a two-lane highway. You don’t want the cars to cross into the other lane.
I mean that you don’t want marketers to update Opted Out field to suppress prospects. Marketers should use the Do Not Email field (even though they can edit Opted Out field).
The Opted Out field is the organic method that indicates that prospects have unsubscribed.
Updating Do Not Email
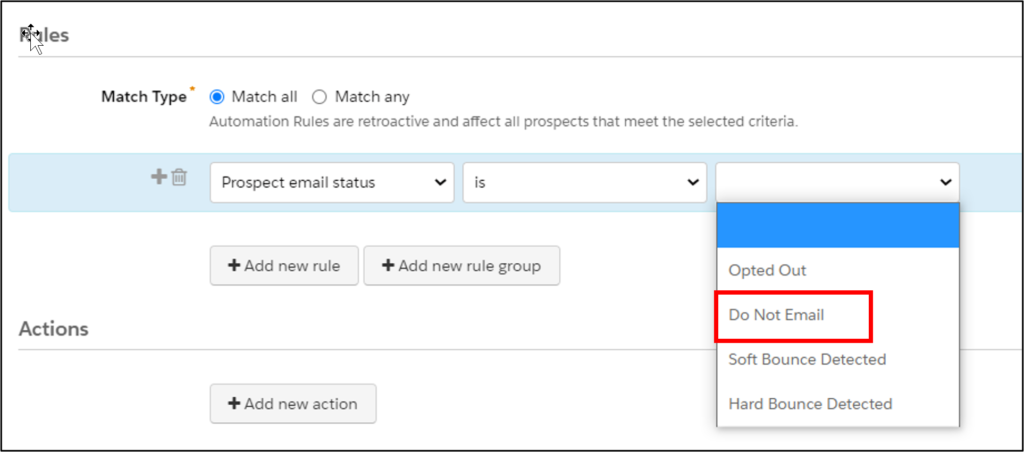
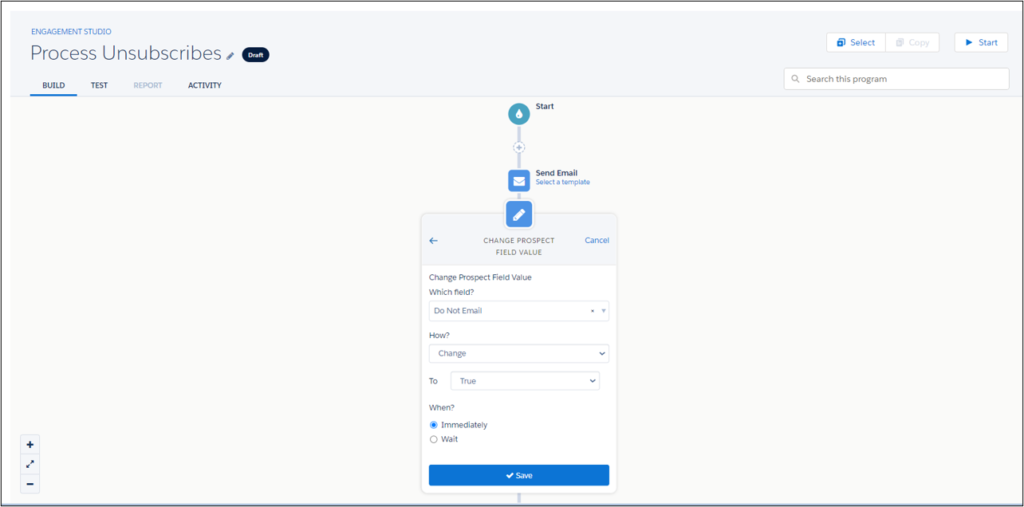
Account Engagement provides a variety of ways to update the Do Not Email field. You can leverage completion actions, automation rules, engagement studio or segmentation rules.


Syncing Do Not Email with Salesforce
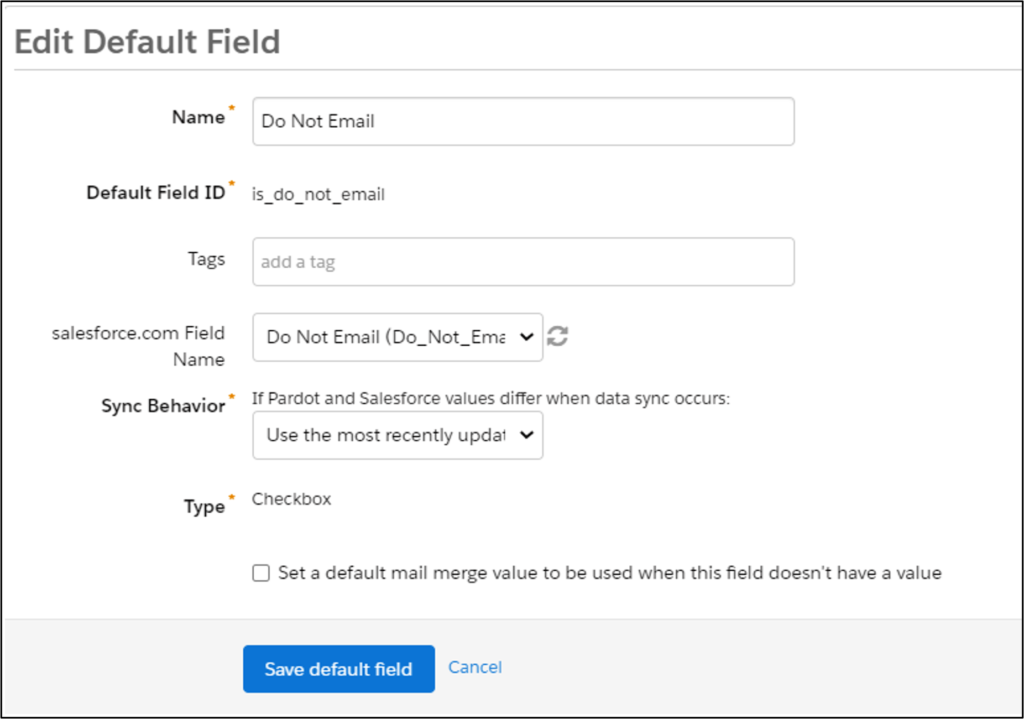
Now that we understand the Do Not Email field, you should sync it to Salesforce. Because, by default, the Do Not Email field does not natively connect to anything in Salesforce.
If you want your Salespeople to either see the Do Not Email Field or have the capability to update it, you need to create a custom checkbox field in Salesforce and sync it to the native Do Not Email field in Account Engagement.

Good luck!

