After creating a Account Engagement email builder template, your next step is sending an email.
Exciting!
At the time of writing this blog, I’d sent more than a dozen emails from Email Content, and I learned a few items that I want to share with you.
Let’s start with the Gotcha (unexpected, usually disconcerting challenges).
Unsubscribe
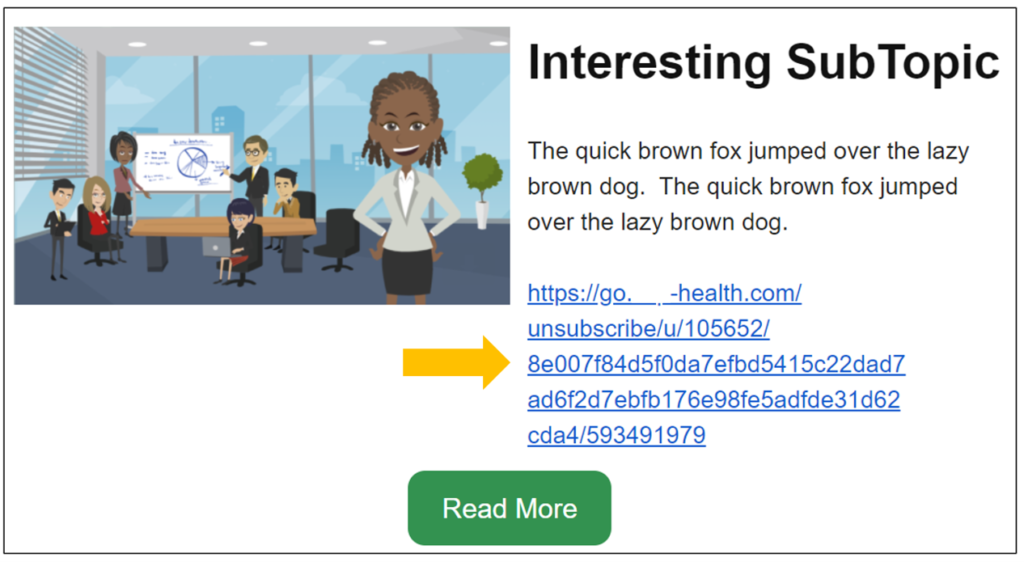
Federal regulations require marketers to have an unsubscribe in their email. If you simply add the unsubscribe merge field directly in the email body, the system will display an unruly link. (Ugh!)
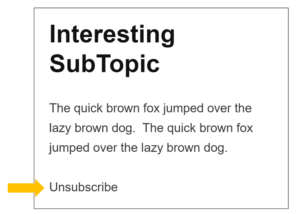
Instead, use the “unsubscribe” or “preference center” merge fields to linked text. (Best practice is to use the preference page. Read more here.)
1. Type your desired text (Unsubscribe) in your email.
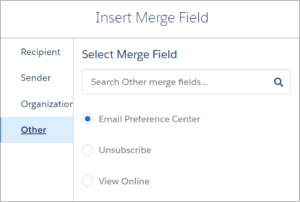
2. Select Merge Fields and choose Unsubscribe or Preference Center. You will see this in your email body: {{{EmailPreferenceCenter}}}
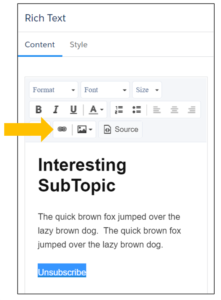
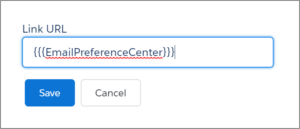
3. Highlight your text (Unsubscribe) and choose the “Link” icon in the Editor.
4. Copy the merge field ({{{EmailPreferenceCenter}}}) from step #2 and paste it for the linked text and save.
NOTE: You can also link Unsubscribe or Email Preferences Center merge tags by adding an href attribute via an <a> tag. It would look like this:
<a href=”{{{Unsubscribe}}}”>Unsubscribe</a>
Add the href attribute via the ‘Source’ button in a Rich Text block or via an HTML Block – it’s your choice!
Voila!

